Step-by-step guide: How to build a professional website for your club

Josh Tucker
Last Update il y a 8 mois
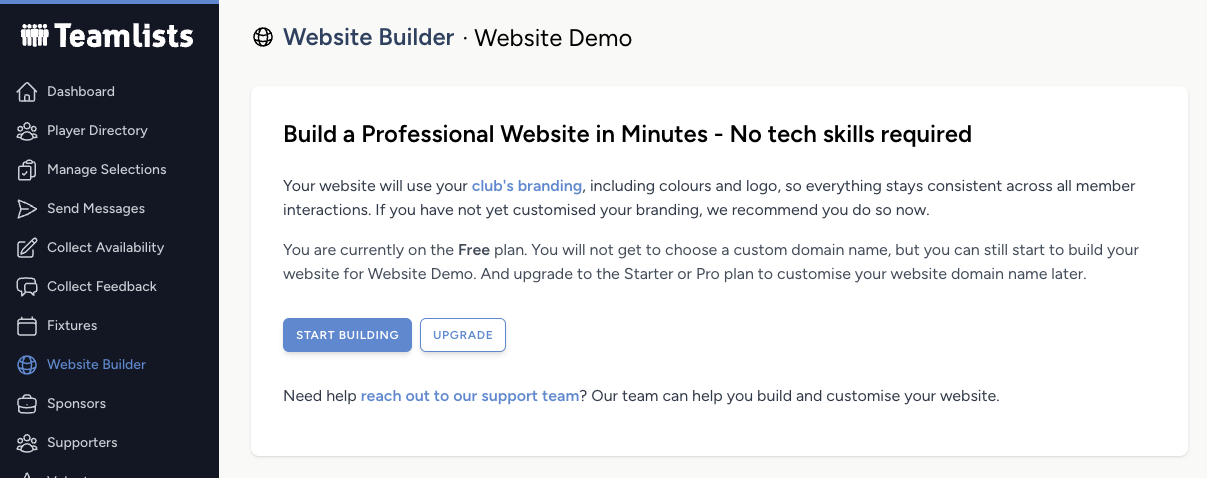
Navigate to the Website builder page on the menu. Note that only authorised users will have access to this.
Then, depending on your plan, you will be prompted to choose your domain name or subdomain (e.g., yourclub.teamlists.website) or to get started if you are on the free plan.
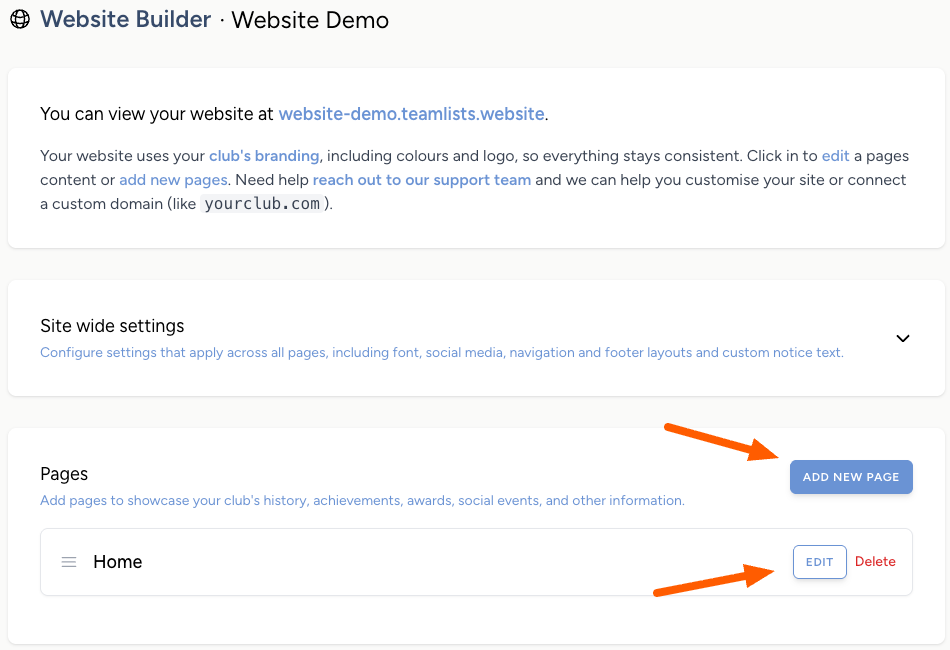
Once you have started building, your page will be accessible on the subdomain provided. It will automatically use your club's branding that we set up previously, and it is consistent across the Teamlists platform.
Let's start by opening the 'site-wide settings', which controls further settings like the fonts used, navigation menu , footer layouts, social media and a notice text (add a banner to top of the site with an important update).

Next we are going to start editing out homepage (default landing page for new visitors) or add a new page.
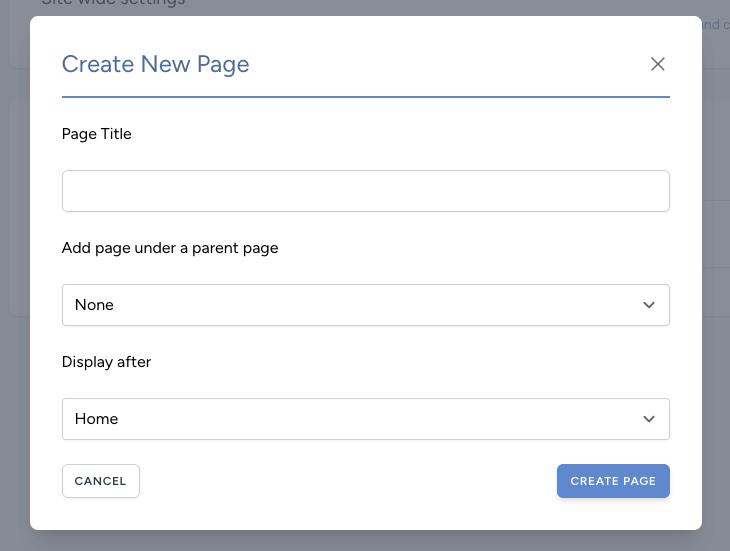
Adding a new page prompts us for the new page's title (which also shows in the menu) and whether it has a parent page. For example, if we build a page for 'Our Club', we might have subpages for 'History' and 'Committee'.
Add and update the pages structure until you have the pages that you want, some clubs may just want a homepage, others might have multiple.
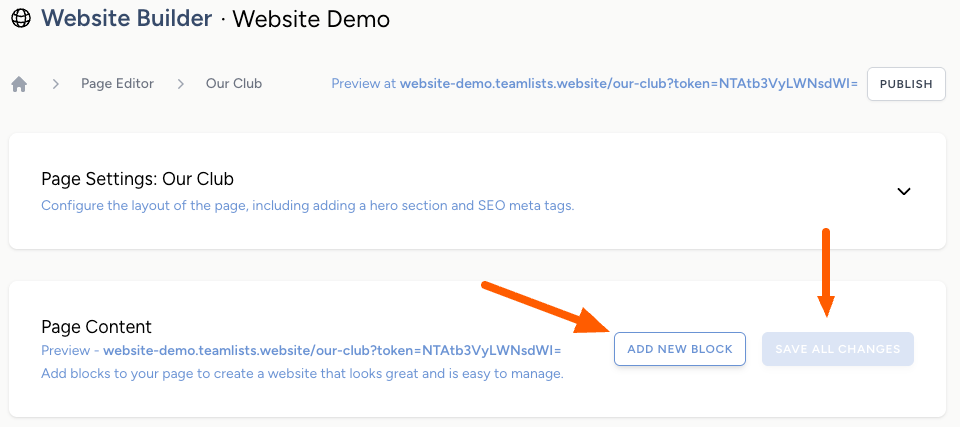
Then click into the page to start editing it and you will see a few things to consider whenever you are editing the site.
Firstly, the page defaults to being unpublished, which means you must publish it to share with the world; however, there is a preview link that you can share with anyone to review the page.
Next, the website builder uses a page-and-block system. A single page can have multiple blocks, and blocks belong to a page, but can be moved to a new page if required.
Lastly, whenever you make changes to your page, the Save all changes button will appear, allowing you to save all changes at once.
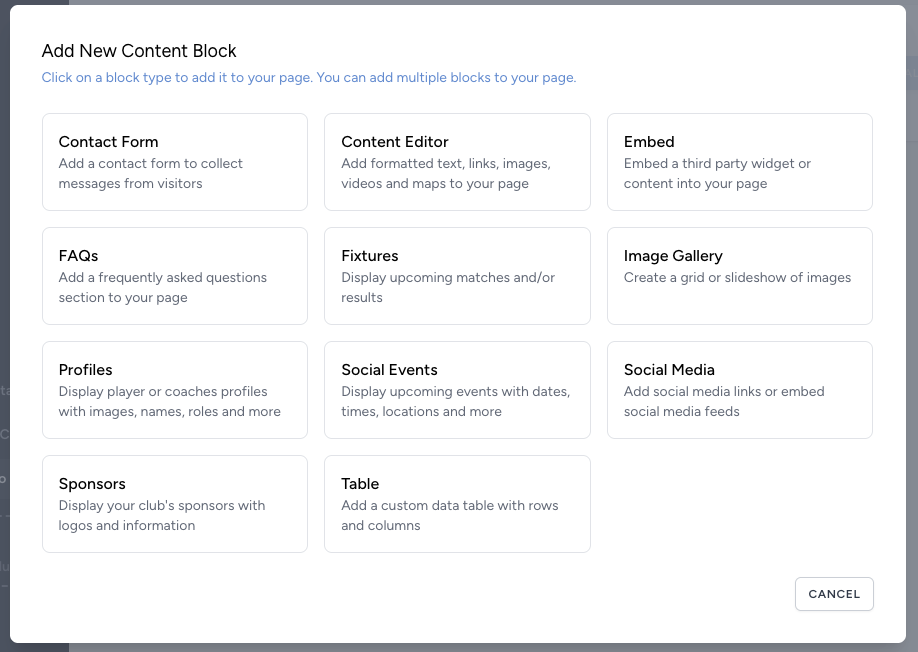
Clicking 'add new block' will prompt you what type of block that you would like to add. With pre-built options from contact forms to fixtures, through to image galleries and even social media embeds, that's right, if you added your social media handles on the 'site-wide settings', you can easily drop in a live Facebook or Instagram feed to your page. No code required.
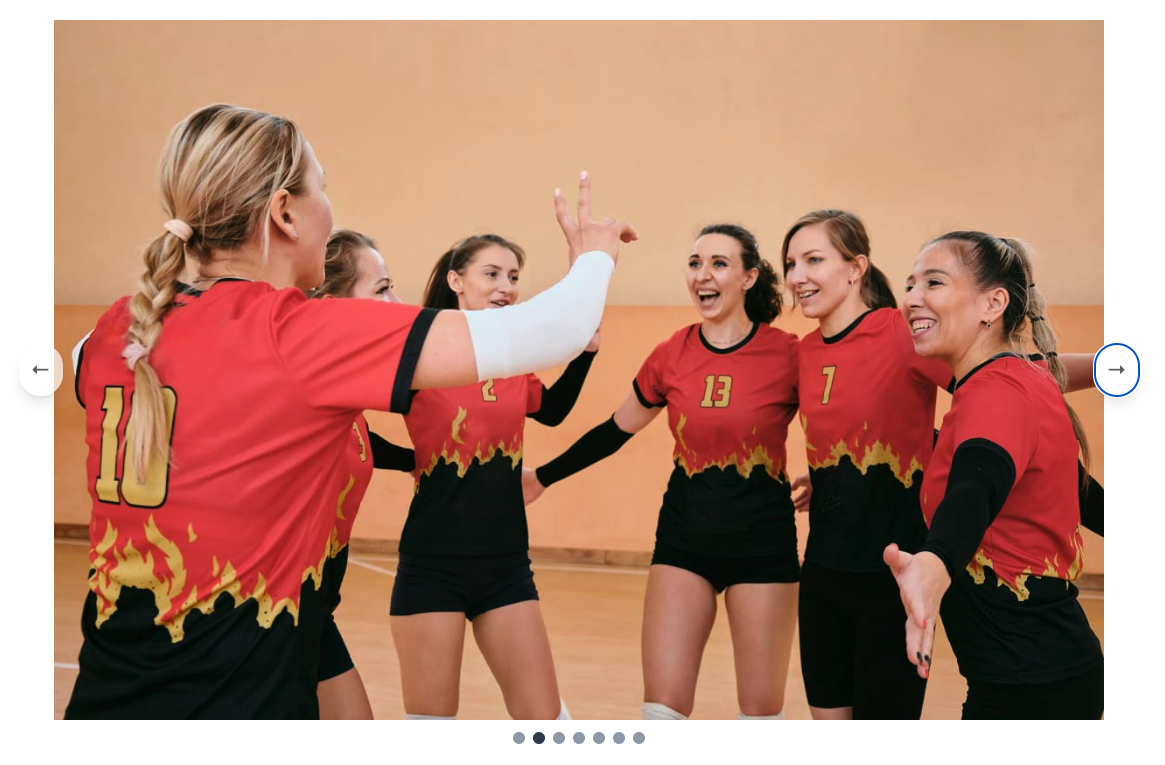
Images make a website and like every block you have a range of options already configured. Simply select an 'Image Gallery', upload some images and choose the settings on how you want them to display, for example as a slideshow or a grid and how big the images should be.
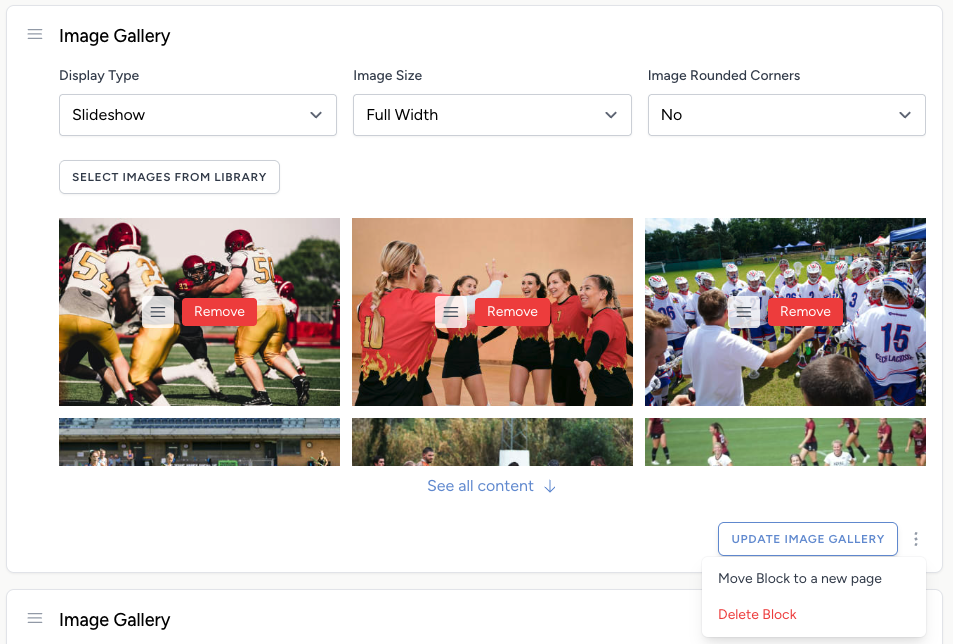
Then update your image gallery and on your website you will have a slideshow of your latest pictures.
Go through and add content blocks to your pages, edit them, and once you are ready, publish and share them with the world or just your club.
Contact support if you have any issues or want to set up a custom domain name, like yourclub.com, instead of using our subdomain.